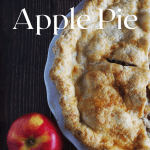
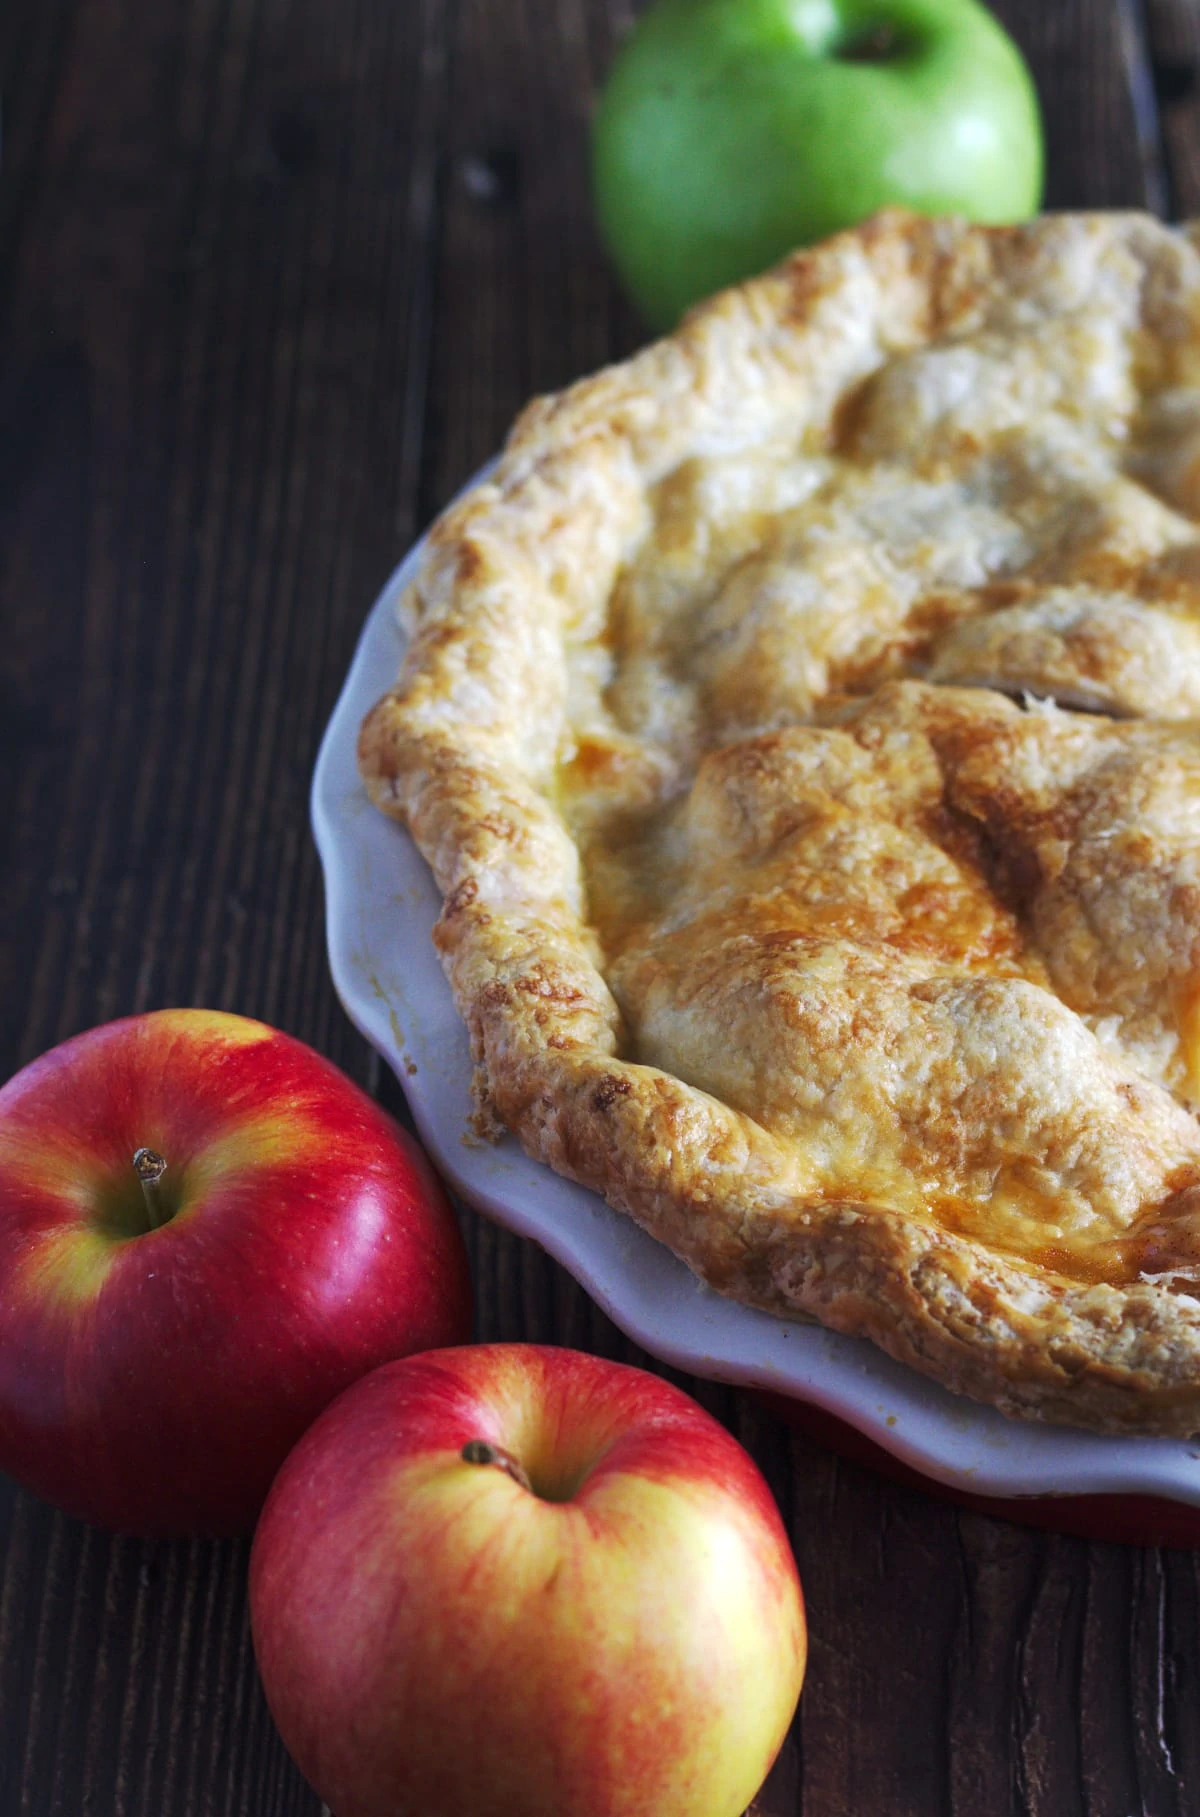
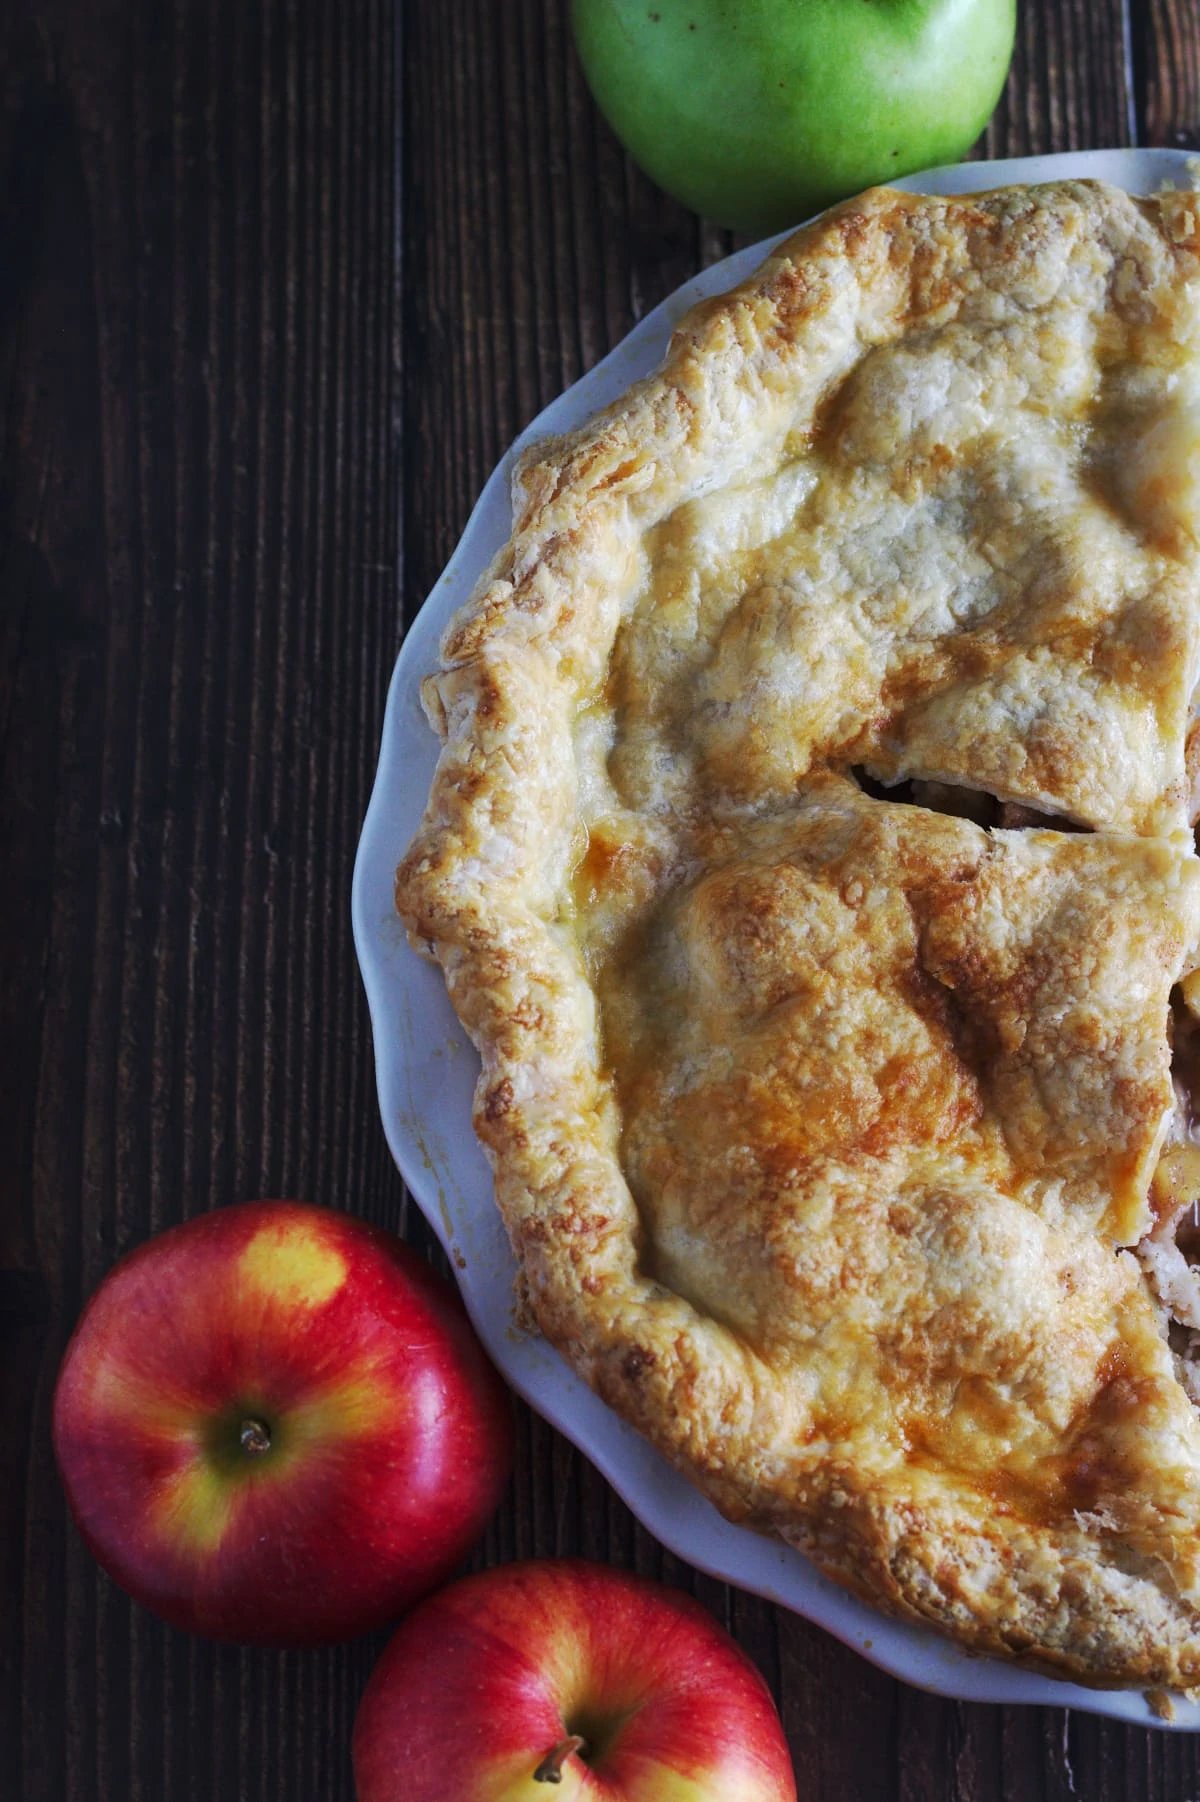
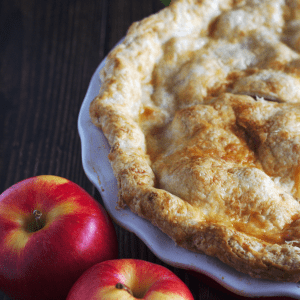
This old fashioned apple pie has a homemade flaky pie crust and a filling with layers and layers of different varieties of apples, spices and butter. Serve with a side of ice cream or custard for a traditional dessert.
Want to Save This Recipe?
Enter your email & I'll send it to your inbox. Plus, get great new recipes from me every week!
By submitting this form, you consent to receive emails from Nina Kneads to Bake.
Jump To Recipe
🥧Apple desserts in fall
I love apple anything in the fall. I have both apple pear crisp and apple crisp cupcake recipes on here, and noticed that I was missing a classic apple pie recipe! Well, here it is!
This is my absolute favourite traditional apple pie. It has 2 parts to it - the flaky homemade crust and the spiced apple filling. You can use a store bought pie crust if you like, but I urge you to try homemade. This is a super simple pie dough and is very forgiving.
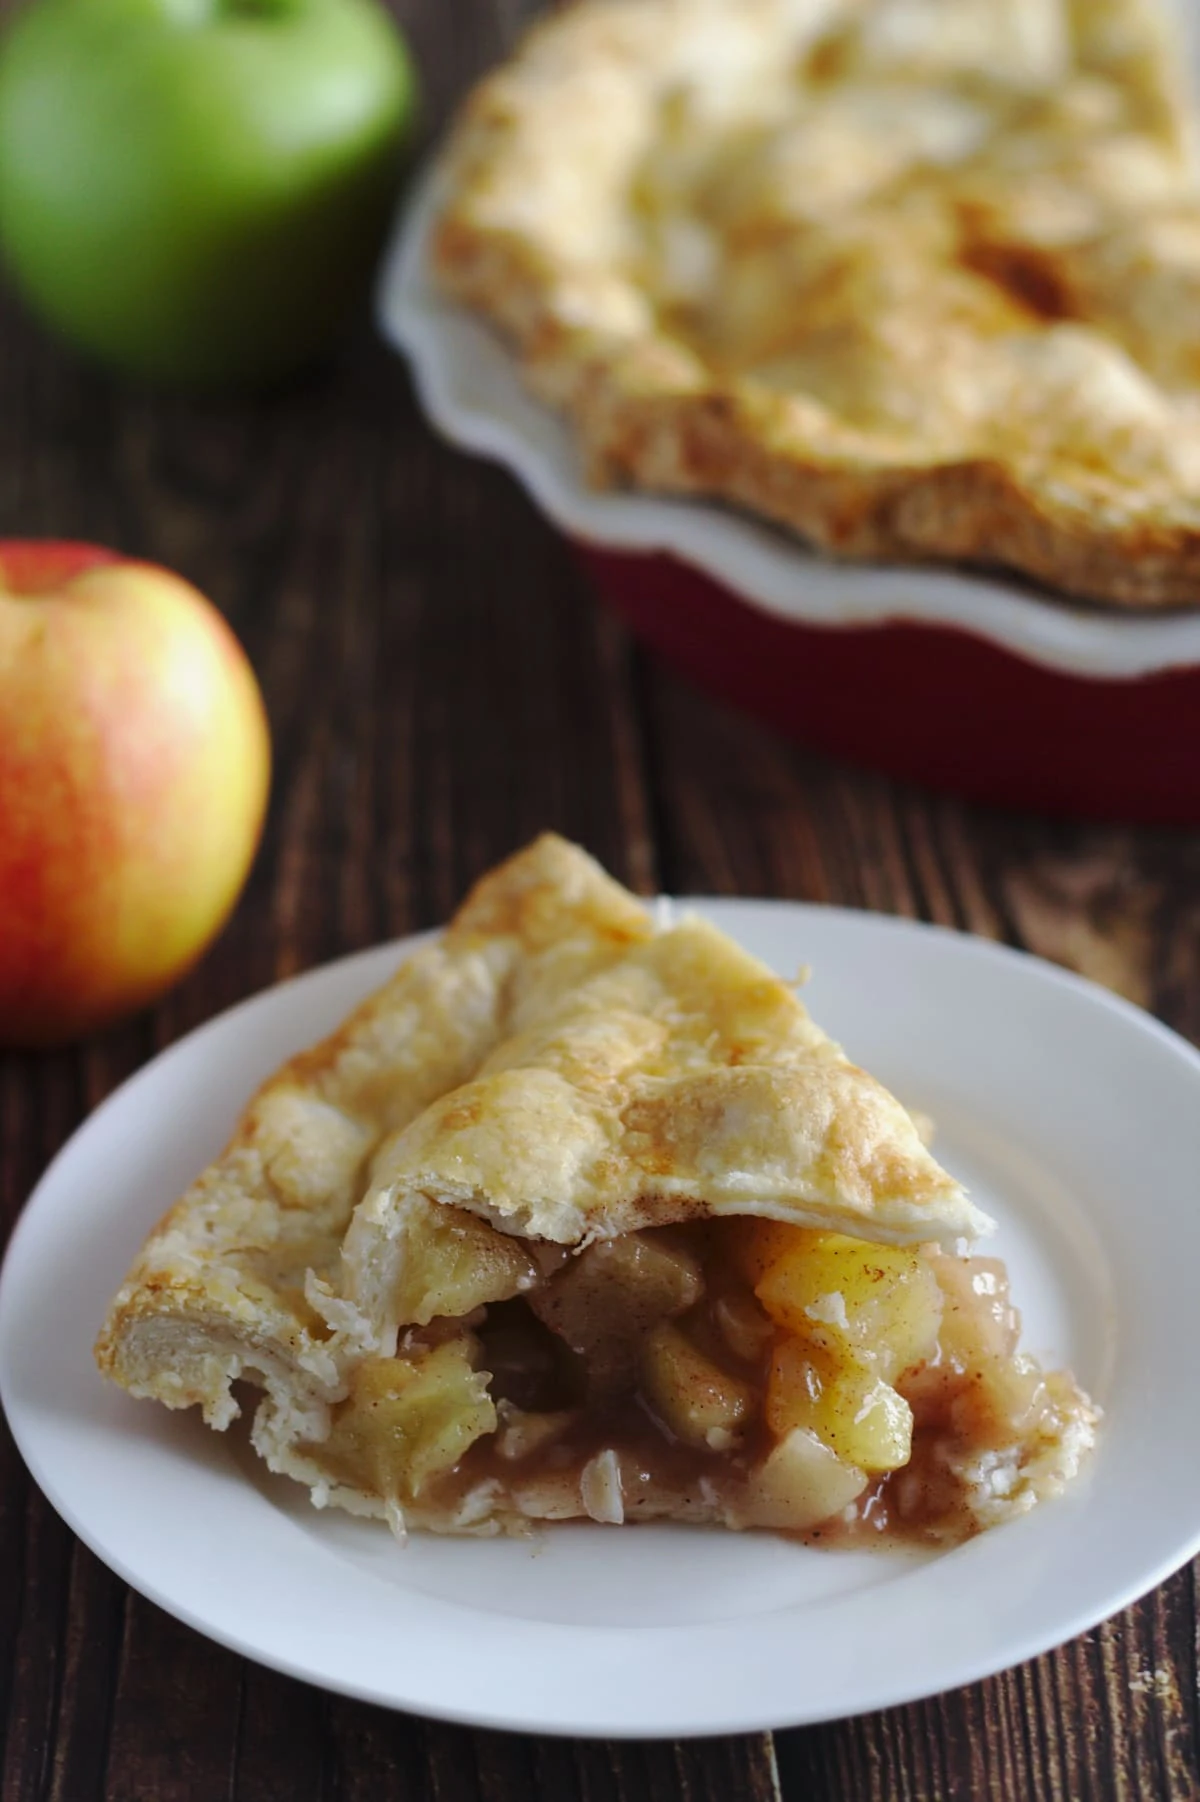
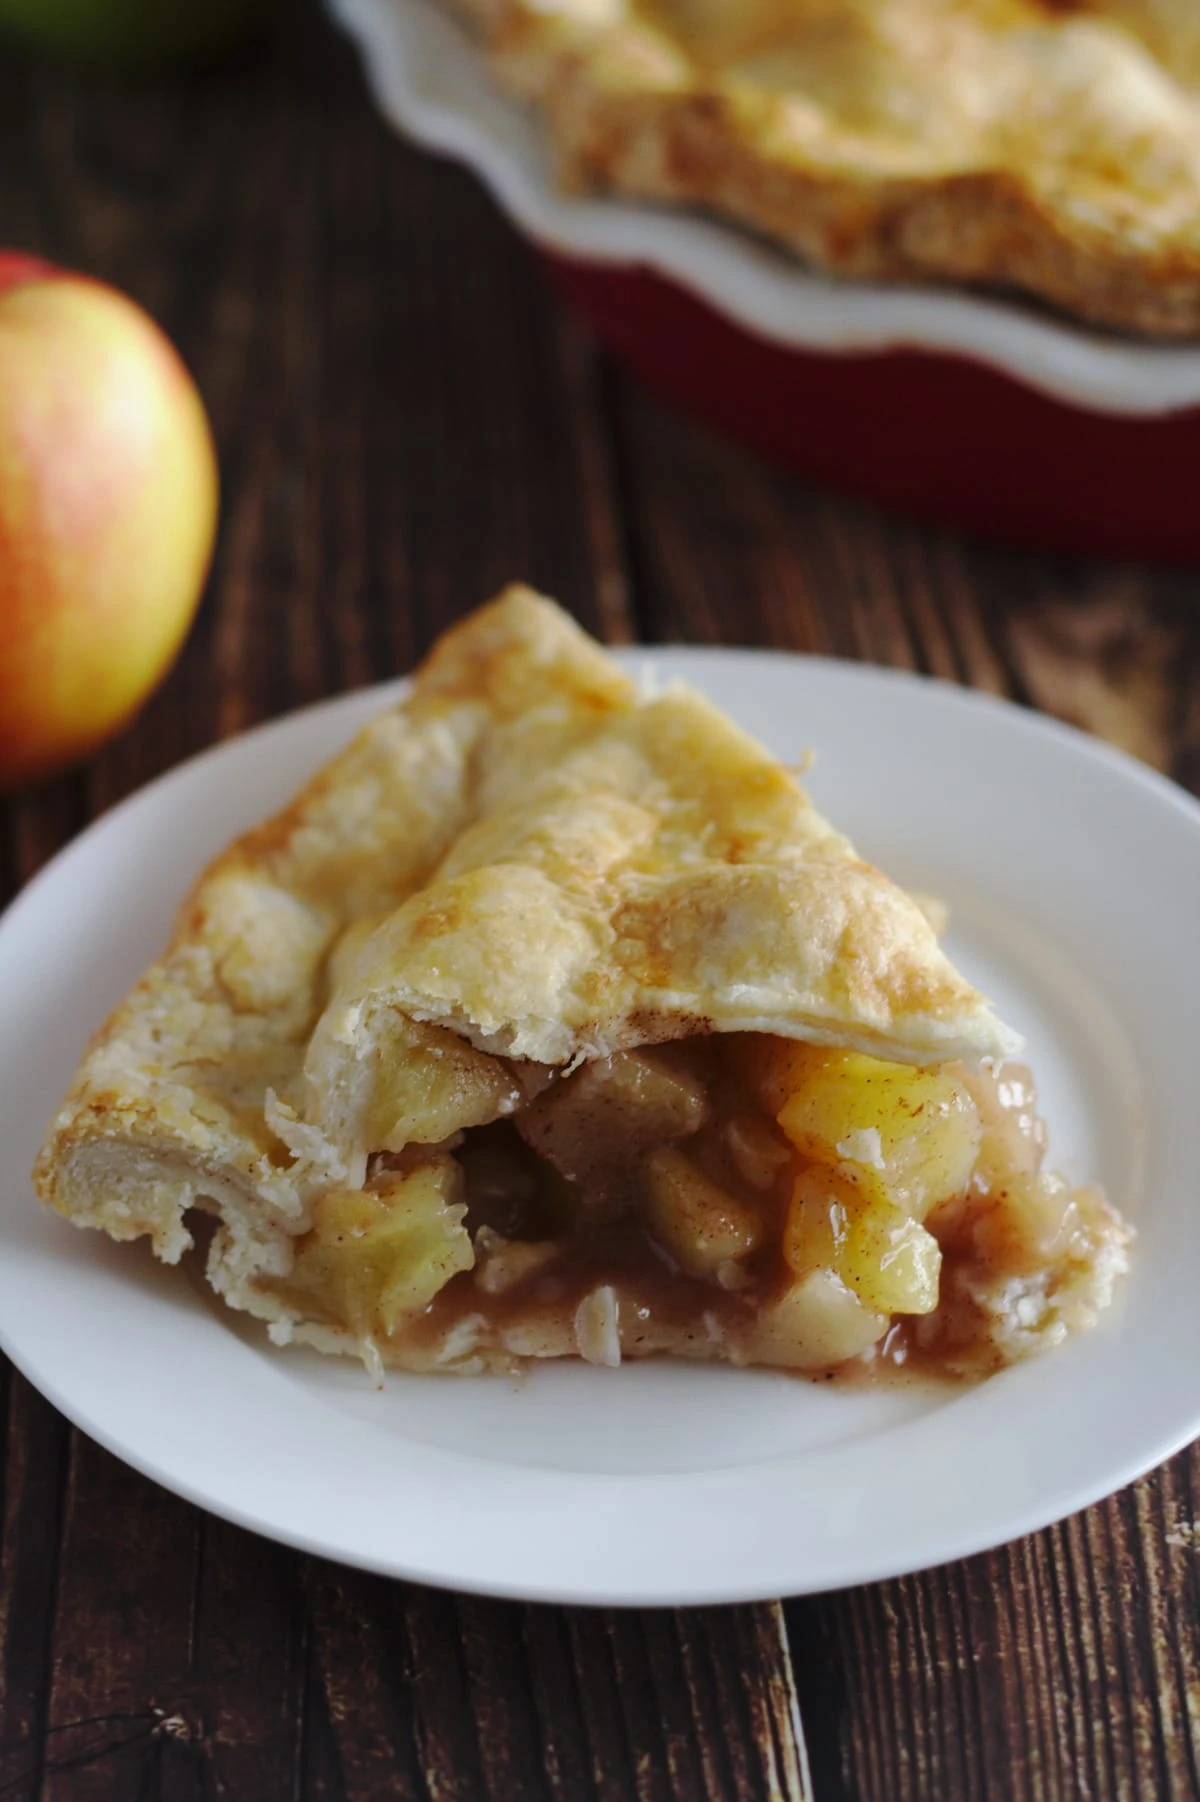
The apple pie filling is perfectly spiced with all those warm spices you expect in an apple pie. Dots of butter goes on top of the filling, so when it melts, it'll create a perfectly thick filling.
🍏What are the best apples for apple pie?
It's best to use a combination of apples. Some apples cook faster then others, some stay more firm and others more soft. Some apples are tart while others are sweet. By combining them, you will get a more complex flavour. These are the varieties of apples that are perfect for apple pie and other apple desserts:
- Granny Smith - This is one of the most popular tart apples to use in baking.
- Fuji - A crisp and juicy apple with a sweet flavour.
- Golden Delicious - These are crisp sweet apples.
- Braeburn - A sweet and crunchy apple.
- Pink Lady - A good balance of sweet and tart. These are one of my favourites!
- Honey Crisp - These have a sweet and tart flavour and are extra crisp.
🔪Instructions
Pie Crust
Start your apple pie by making the pie crust first. You can make the dough a day or two ahead and keep the dough discs chilled in the refrigerator.
This pie crust uses lard, but you could also use shortening in it's place. Lard or shortening makes such a deliciously, super flaky crust that you want in a pie. Click here for a more in depth tutorial on how to make pie crust.
Apple pie filling
Make your apple filling while your prepared dough is chilling in the refrigerator. Peel, core and cut the apples up into chunks. I find that cutting them into chunks instead of slices makes an easier pie to eat, and is preferred by my family.
Pour and mix in some fresh lemon juice to the apples. This helps keep the apples from browning too much. Toss the apples with sugar, flour, cinnamon and nutmeg and let it sit while you roll out your dough.
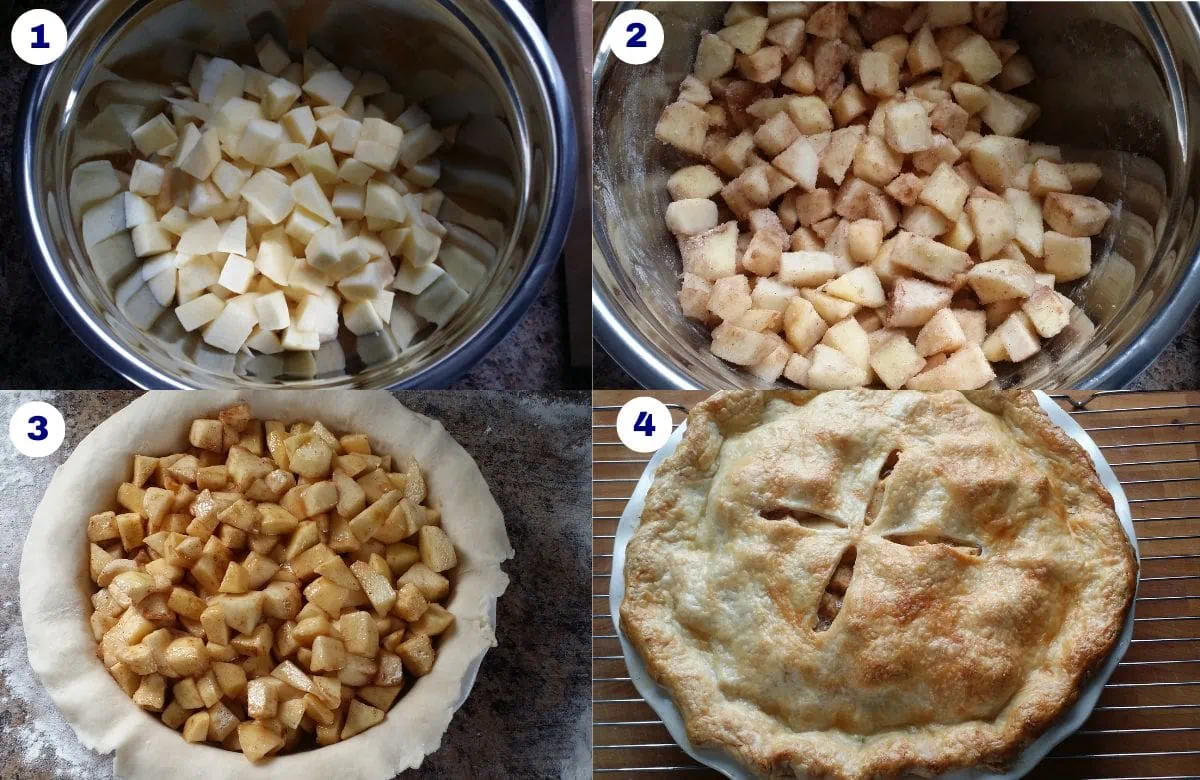
Roll the dough out into about a 12 inch circle, ⅛" inch think. Line the bottom of a 9-inch pie dish with the dough and use your fingers to smooth out the dough. Scoop the apple filling into the pie dish and dot butter over the top. Roll out the second dough disc. Place the second dough over the apples and trim and flute the edges of the pie dough to seal. Make tiny slits at the top of your pie to create vents for the steam to escape. Brush with an egg wash and sprinkle the top with sugar.
Baking the apple pie
Place the apple pie in a 375°F oven and bake for 45-50 minutes until the top is golden brown. You can put a pie shield over your pie to stop the edges from darkening too much. I usually do this about 25 minutes into the baking time. I make my own temporary pie shield by cutting out a square piece of aluminum foil. Cut a large circle in the center of the square and place it over your pie. The center will be exposed and the edges will be covered.
Let the pie cool on a wire rack for about an hour. The filling will firm up as it cools so you get clean slices of pie when you cut into it.
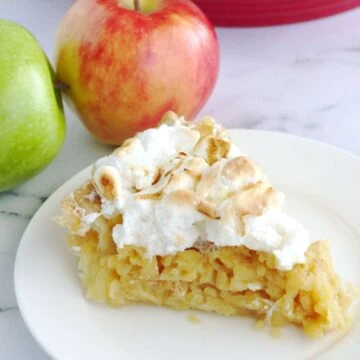
🍨The best toppings for apple pie
There is nothing like a warm slice of apple pie with a scoop of ice cream. You could also top it with custard, caramel sauce or homemade whipped cream.
✔️Expert tips
- Use a combination of apples for a more complex flavour. Pick a tart apple and sweet apple varieties.
- Use fresh lemon juice in your pie filling. The fresh lemon juice has less chance to oxidize because it is fresh, and therefore has a brighter flavour. It also has no funny preservatives like the bottled versions.
- Use a pie shield partly into the baking time to prevent the edges of the pie from getting too dark.
💭FAQs
This apple pie will last for a few days tightly covered in the refrigerator. After that, the crust looses it's crispness. Warm the apple pie back up in the oven at 350°F for 5-10 minutes before serving. The crust gets soggy if you warm it in the microwave.
To freeze an unbaked apple pie, wrap the whole pie in aluminum foil several times to make sure there is no air getting in. Freeze for up to one month. When ready to bake, proceed to step 10. You will need to add on an extra 15 minutes or so to the baking time.
To freeze a baked apple pie, wrap and freeze as above. When ready to serve, let the apple pie come to room temperature and then heat it in a 350°F oven for 15 minutes or until the filling is heated through.
It's best to use a combination of apples like granny smith, which is a bit tart, and Braeburn, which are sweet.
📋Recipe
📋 Recipe
Want to Save This Recipe?
Enter your email & I'll send it to your inbox. Plus, get great new recipes from me every week!
By submitting this form, you consent to receive emails from Nina Kneads to Bake.
Old Fashioned Apple Pie
Equipment
- One 9 inch pie dish
Ingredients
Pie dough
- 2 cups all purpose flour
- 1 teaspoon granulated sugar
- ¼ teaspoon salt
- ⅔ cup shortening/lard chilled and cubed
- 5 tablespoons milk cold
- 5 tablespoons water cold
Apple pie filling
- 6 cups apples peeled and chopped (approximately 8-10 apples)
- 1 tablespoon fresh lemon juice
- 1 cup granulated sugar
- 2 tablespoons all purpose flour
- 1 teaspoon ground cinnamon
- ¼ teaspoon ground nutmeg
- 1 tablespoon unsalted butter
To finish
- 1 large egg
- 1 teaspoon water
- ½ teaspoon granulated sugar
Instructions
Pie Dough
- Whisk flour, sugar and salt together in a large bowl. Add the shortening/lard to the bowl.
- Using a pastry cutter, or two forks, cut the shortening into the mixture until the flour coated fats are pea sized.
- Add the milk and water to a measuring cup and stir. Drizzle this in, 1 tablespoon at a time, and mix with a spoon or your hands. Do not add too much of the milk/water. Stop adding this when the dough comes together easily. You may need to use less in the summer and more in the winter. Form the dough into a ball.
- Cut the dough into two, with one half being slightly larger then the other. The larger one will be the bottom pie shell, and the smaller one, the lid.
- Flatten each ball of dough into 1-inch thick discs and wrap each with plastic wrap. Refrigerate for 30 minutes or up to 3 days.
Apple Pie Filling
- Prepare the filling by mixing the apples and lemon juice together in a large bowl. Stir in sugar, flour, cinnamon and nutmeg until all the apples are coated and set aside.
Assemble
- Preheat oven to 375°F and grease a 9-inch pie dish. Set aside.
- Roll out the larger chilled pie dough on a floured surface. Turn the dough a quarter turn after every few rolls until you have a circle that is about 12 inches in diameter. Carefully place it into the prepared pie dish, using your fingers to smooth it out. Trim off any extra overhang with a knife.
- Fill the pie crust with the filling and dot the butter overtop. Roll out the other chilled pie dough the same way as the first dough disc, until about 10 inches in diameter. Carefully place it on top of the pie and trim any extra overhang. Crimp and flute the edges of the dough with your fingers.
- Cut 4 small slits at the top of your pie to allow steam to escape. Whisk the egg and water together and brush the top of the pie with it. Sprinkle sugar over top of the pie. Bake for 45-50 minutes until the pie is golden brown. Place a pie shield over the pie 25 minutes into the baking to stop the edges from getting too dark. Or you can take a square piece of aluminum foil and cut a circle from the center to make a pie shield.
- Place the baked pie on a wire rack and let it cool for about 1 hour. Store it covered, in the fridge for up to 3 days.
Notes
- Use a combination of apples for a more complex flavour. Pick a tart apple and a sweet apple variety.
- Use fresh lemon juice in your pie filling. The fresh lemon juice has less chance to oxidize because it is fresh, and therefore has a brighter flavour. It also has no funny preservatives like the bottled versions.
- Use a pie shield partly into the baking time to prevent the edges of the pie from getting too dark.


Jeff
I put the egg in the filling because the recipe show 1 large egg in the list of ingredients. Being a man, i just took all the ingredients for the filling in one bowl and mixed together. It was not until a week later i mentioned to a friend about putting egg in the filling that i was told they never heard of that. It was good though. My thought is that the egg should not be listed with filling ingredients. If anything, I think it should be separate from the filling ingredients
Nina
I'm glad you liked it 🙂
Yes, there is no egg in the filling. As the recipe instructions state, it is for the egg wash. I am in the process of switching to a new recipe card plugin that will better separate the ingredients. Thank you for your feedback 🙂